The Ideal-Scope is a handy little tool that can be used and bought by diamond dealers and consumers alike.
The basic premise of the Ideal-Scope is that when put above a diamond, the light returned by the diamond shows up as red areas, whilst white areas indicate light leakage. Eight black arrows stemming from the centre indicate ideal symmetry.
To accompany the Ideal-Scope is the “Ideal-Light” which is basically a diffused light below a tray with two small indents to hold diamonds. When paired together, they provide any consumer the power to quickly and easily assess cut no matter where they are.
The problem with the Ideal-Light is that it really is a poor platform for taking photographs.
Up until a couple of weeks ago, we took Ideal-Scope images with the Ideal-Light, however, using a little ingenuity we came up with a better way to take Ieal-Scope photographs.
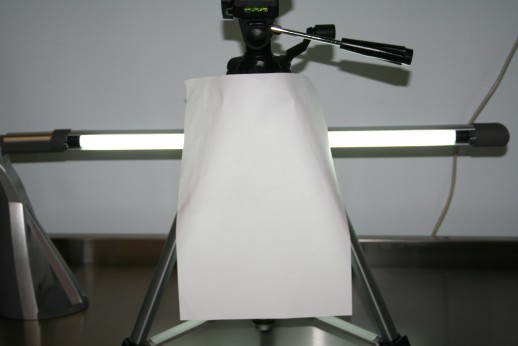
Step 1: Set up a light behind a piece of paper. In this case the paper is stuck to a camera tripod:

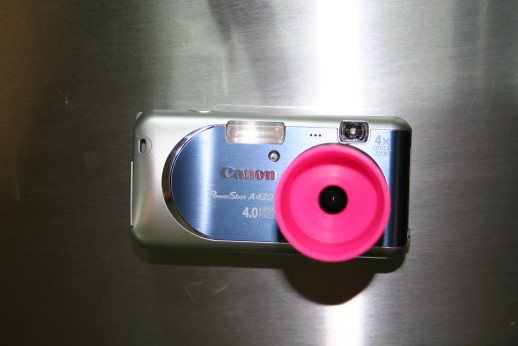
Step 2: Attach the pink part of the ideal scope to the camera lens:

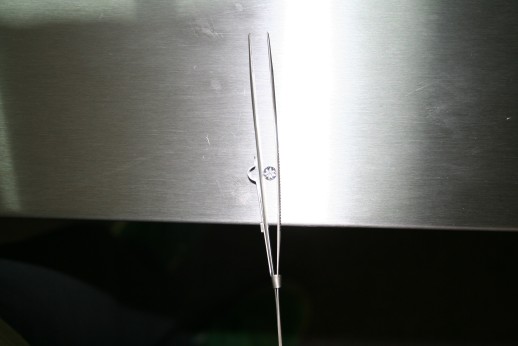
Step 3: Clamp the diamond to the a sraight edge of some locking tweezers:

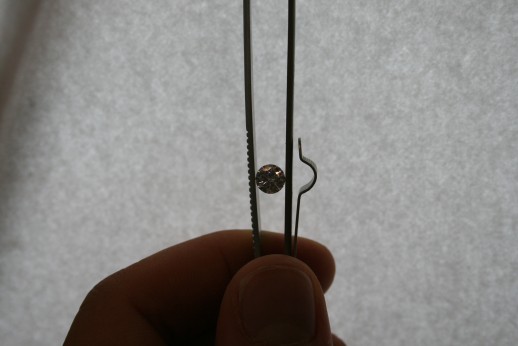
Step 4: Put the diamond in front of the piece of paper, place the camera flush against the straight edge of the tweezers and take the photo!

As you can see, this process literally takes seconds and uses equipment costing under $200 – therefore anyone can do it!
April 30th, 2007 at 3:26 pm
[…] as it turns out, we stuck the camera we used to take Ideal-Scope images onto our existing camera lens, and it fits perfectly (with a little Blu-Tack of […]
June 22nd, 2008 at 6:15 pm
[…] all you have to do is take the image. Whether it be with the Ideal Light, or another method. Below are a couple of the results from our setup. Note that the princess was […]